Campaign Setup
Create and send a campaign live
Create Campaign
- Navigate to the "Marketing Automation" feature within your Thena app.
- To initiate, click on the "Create Campaign" option.
- Explore and select from the available templates by clicking on the "Use Template" button.
- Utilize Thena's Block Builder for effortless campaign assembly. This tool allows you to insert, delete, and adjust content blocks such as images, text, and event calendars. You can even tailor image URLs directly, all without needing to code a single line of JSON, courtesy of our advanced editor.
- Toggle the "Send as user" button to send messages under the user's name instead of the Workspace name.
- The BlockKit JSON editor validates content, ensuring proper syntax before enabling campaign sending.
Editor Content Blocks
| Content Block | Description | Best Practices |
|---|---|---|
| Markdown Text | Create rich text formatted content. | Emphasize important points using bold (bold) or italics (italics). |
| Plain Text | Simple, unformatted text. | Direct messages without requiring emphasis. |
| Header | Prominent, large-sized text marking the beginning of a new section/topic. | Use headers to segment content areas. Refrain from using excessive headers in one message to avoid overloading the reader. |
| Image | Insert an image via URL or by uploading. | Choose relevant, high-quality images with correct aspect ratios for Slack display, and provide alt text for accessibility. |
| Section with Image | Section that combines text and an image. | Highlight features or products visually, ensuring text and image harmony. |
| Section with Button | Section that combines text and a clickable button. | Use concise call-to-action text and link the button to a pertinent page or action. |
| Context with Image | Provides additional context or information alongside an image. | Provide detailed insights on specific topics or features, ensuring relevance to the accompanying image. |
| Video | Embed a YouTube video. | Choose high-quality videos with clear sound and picture. Include a concise description or context beneath the video. |
| Divider | Separate sections with a line. | Place dividers between distinct sections for better readability. |
Custom Emojis are not supported
Slack renders the custom emojis in when you preview the message on your Slack Workspace but when your customers see the message on their workspace, they will not see the custom emoji and will instead see :emojiname: as a text. Recommend that you use standard Slack emojis in your content.
Send Campaign
Audience
The 'Audience' feature allows you to configure specific Slack channels as the target audience. This ensures that the campaigns reach the right set of people. Below is a step-by-step guide on how to create, edit, and delete an audience:
The 'Audience' feature is crucial when sending out campaigns. Always ensure that you've selected the correct audience before dispatching a campaign to avoid reaching unintended recipients.
Creating an Audience
- Select Relevant Channels:
- Navigate to the 'Audience' section.
- From the list of available Slack channels, select the ones you want to target for your campaign.
Save Audience: - After selecting the channels, click on the 'Save Audience' button.
- A prompt will appear asking you to enter a name for this audience. Choose a relevant and descriptive name to help you identify this audience in the future.
- Click 'Save' to finalize the creation of your audience.
Editing an Audience
- Navigate to the 'Audience' section.
- Locate the audience you wish to edit.
- Click on the 'Edit' icon (usually represented by a pencil or similar symbol) next to the audience name.
- Select Relevant Channels:
- Once you've made your changes, click on the 'Update Audience' button to save the modifications.
Deleting an Audience
- Navigate to the 'Audience' section.
- Locate the audience you wish to delete.
- Click on the 'Delete' icon (usually represented by a trash bin or similar symbol) next to the audience name.
- Confirm Deletion: A confirmation prompt will appear to ensure you want to delete the selected audience.
Click 'Confirm' to proceed with the deletion or 'Cancel' if you've changed your mind.
Send Immediately
By clicking the "Send Campaign" button, you can instantly send out your campaigns. The campaign's status will update to "Sending," and in just a few minutes, your campaign will be live across the selected channels.
Always preview your campaign before sending it to ensure all components display correctly.
Schedule Campaign
You have the option to schedule your campaigns for a future date and time. Once scheduled, the campaign's status updates to "Scheduled" and will be sent out at the designated time. Here are some important details to keep in mind when scheduling a campaign:
- The scheduling feature aligns with your system/browser's local time.
- Campaigns marked as "Scheduled" can have their send times adjusted.
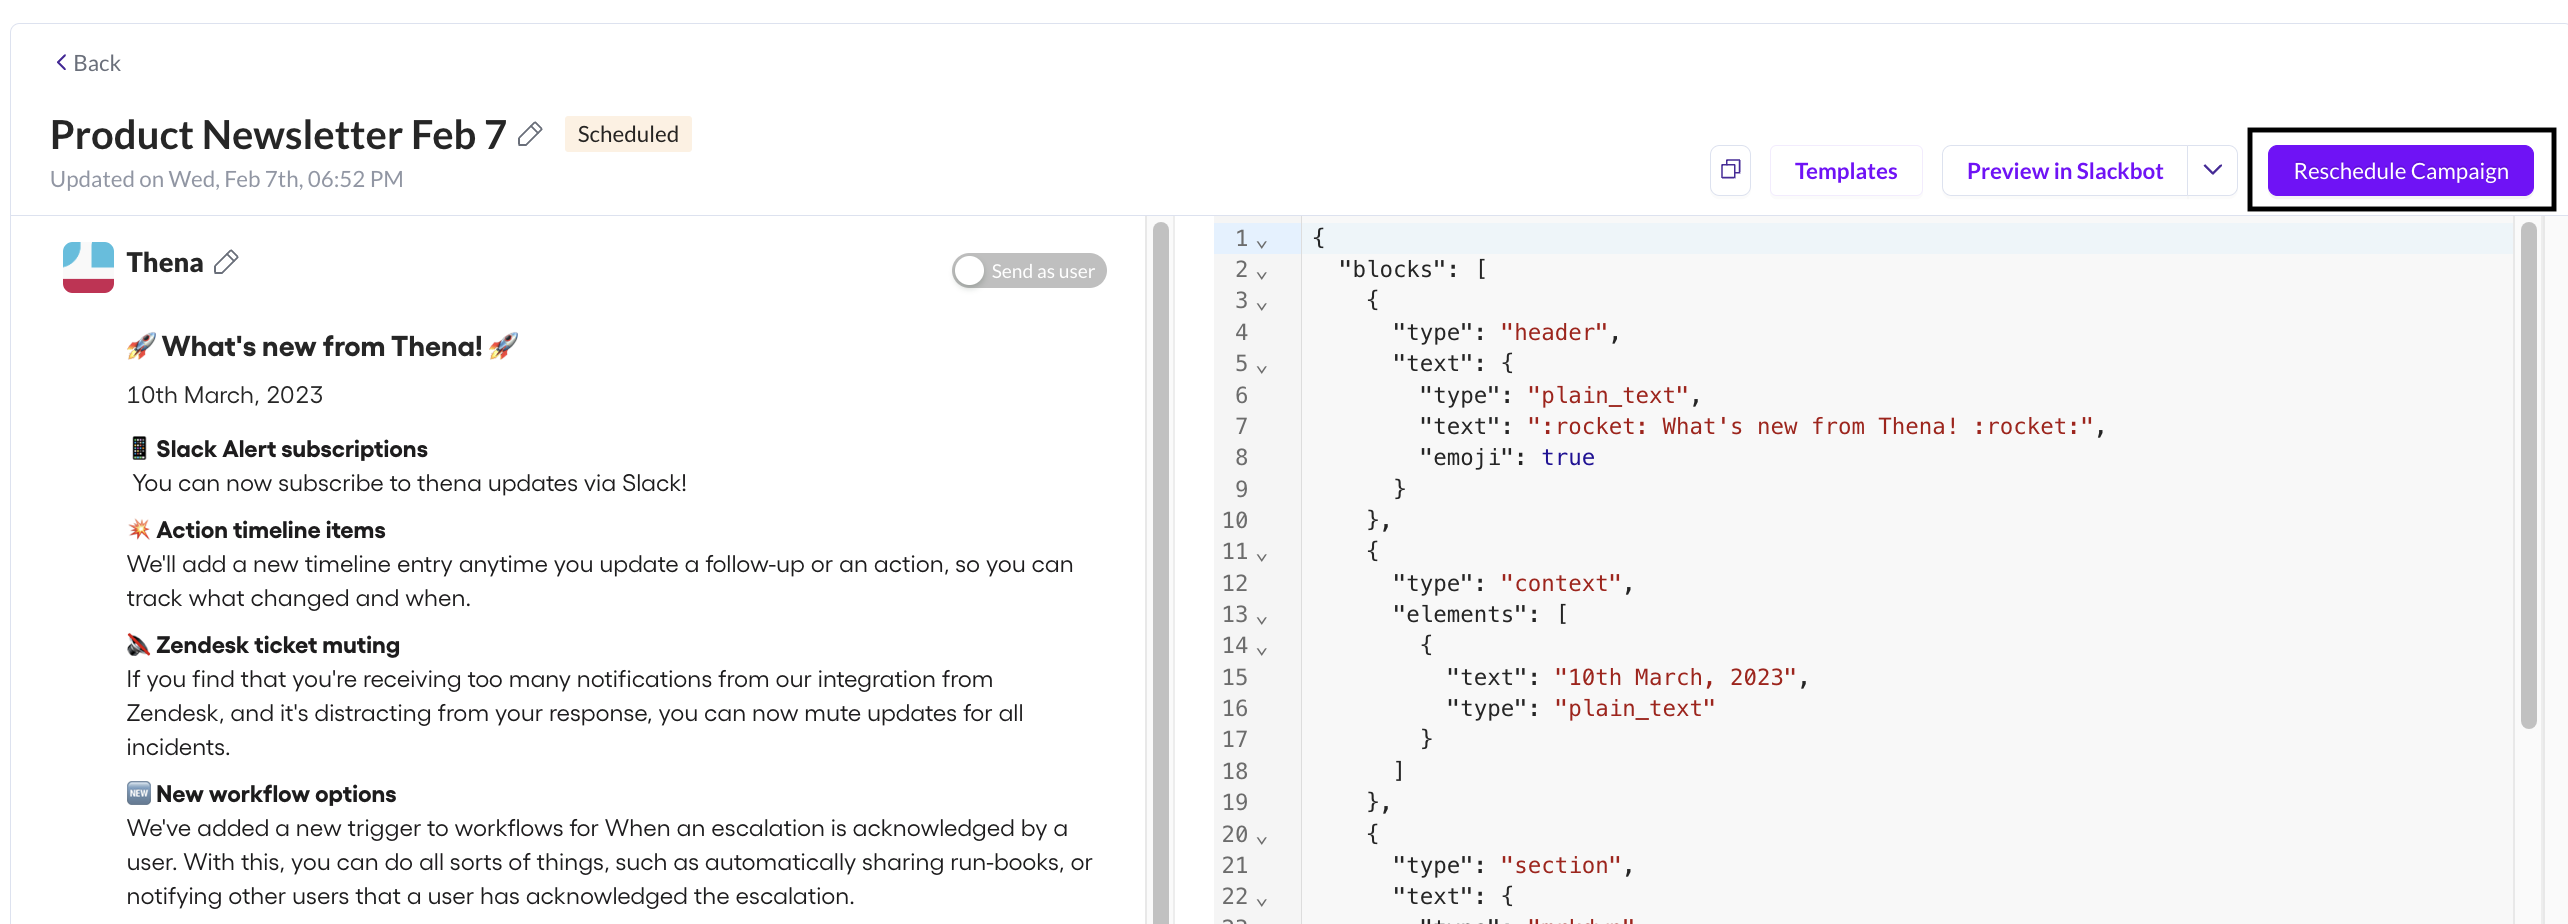
Reschedule Campaign
Note: Scheduled Time denotes the time the campaign send operation would be initiated not the delivery time of the messages which would ideally be a few minutes later.
Cancel Campaigns
Upon clicking the "Send Campaign" button, you are provided with a 2-minute window to abort the broadcast.

Cancelling Message Broadcast
Duplicate Campaign
Duplicate campaigns for similar content and audience lists using the Duplicate Campaign button.
Duplicated campaigns are set to DRAFT status.
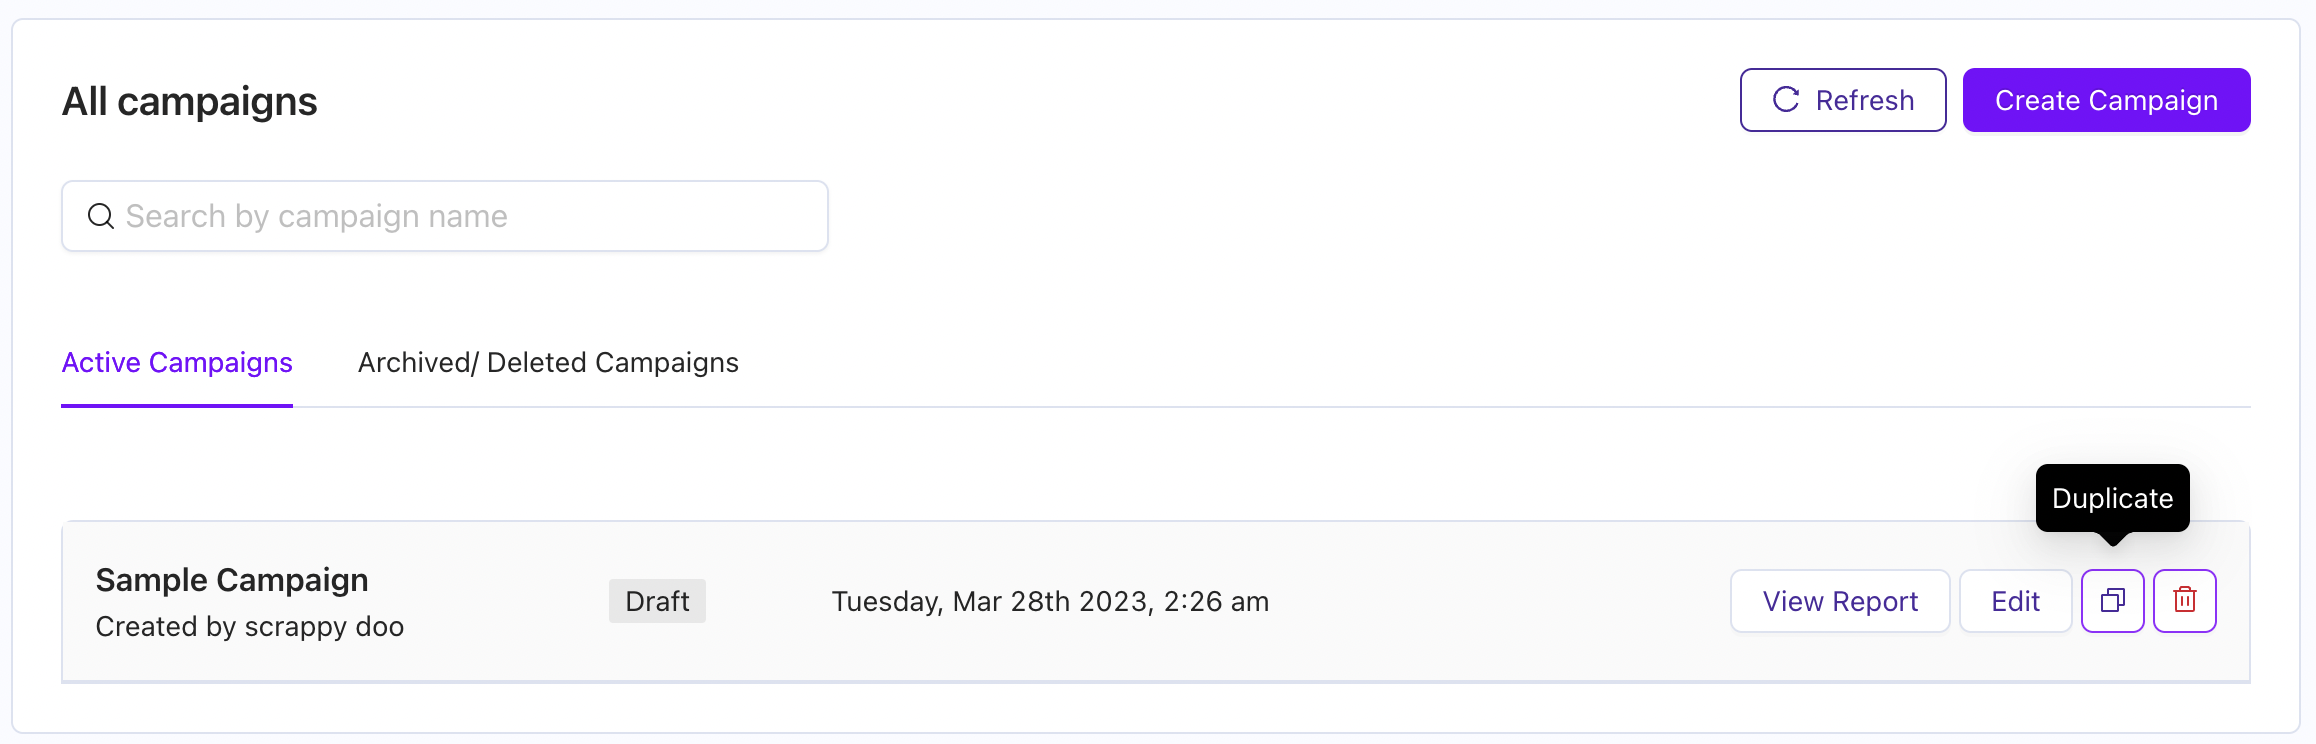
Campaign Duplication
Archive Campaign
Archive campaigns to organize important campaigns. Archived campaigns are accessible in the Archived/Deleted Campaigns tab in the Campaign List. Archived campaigns' stats continue to be recorded, and analytics are accessible via the View Report button.
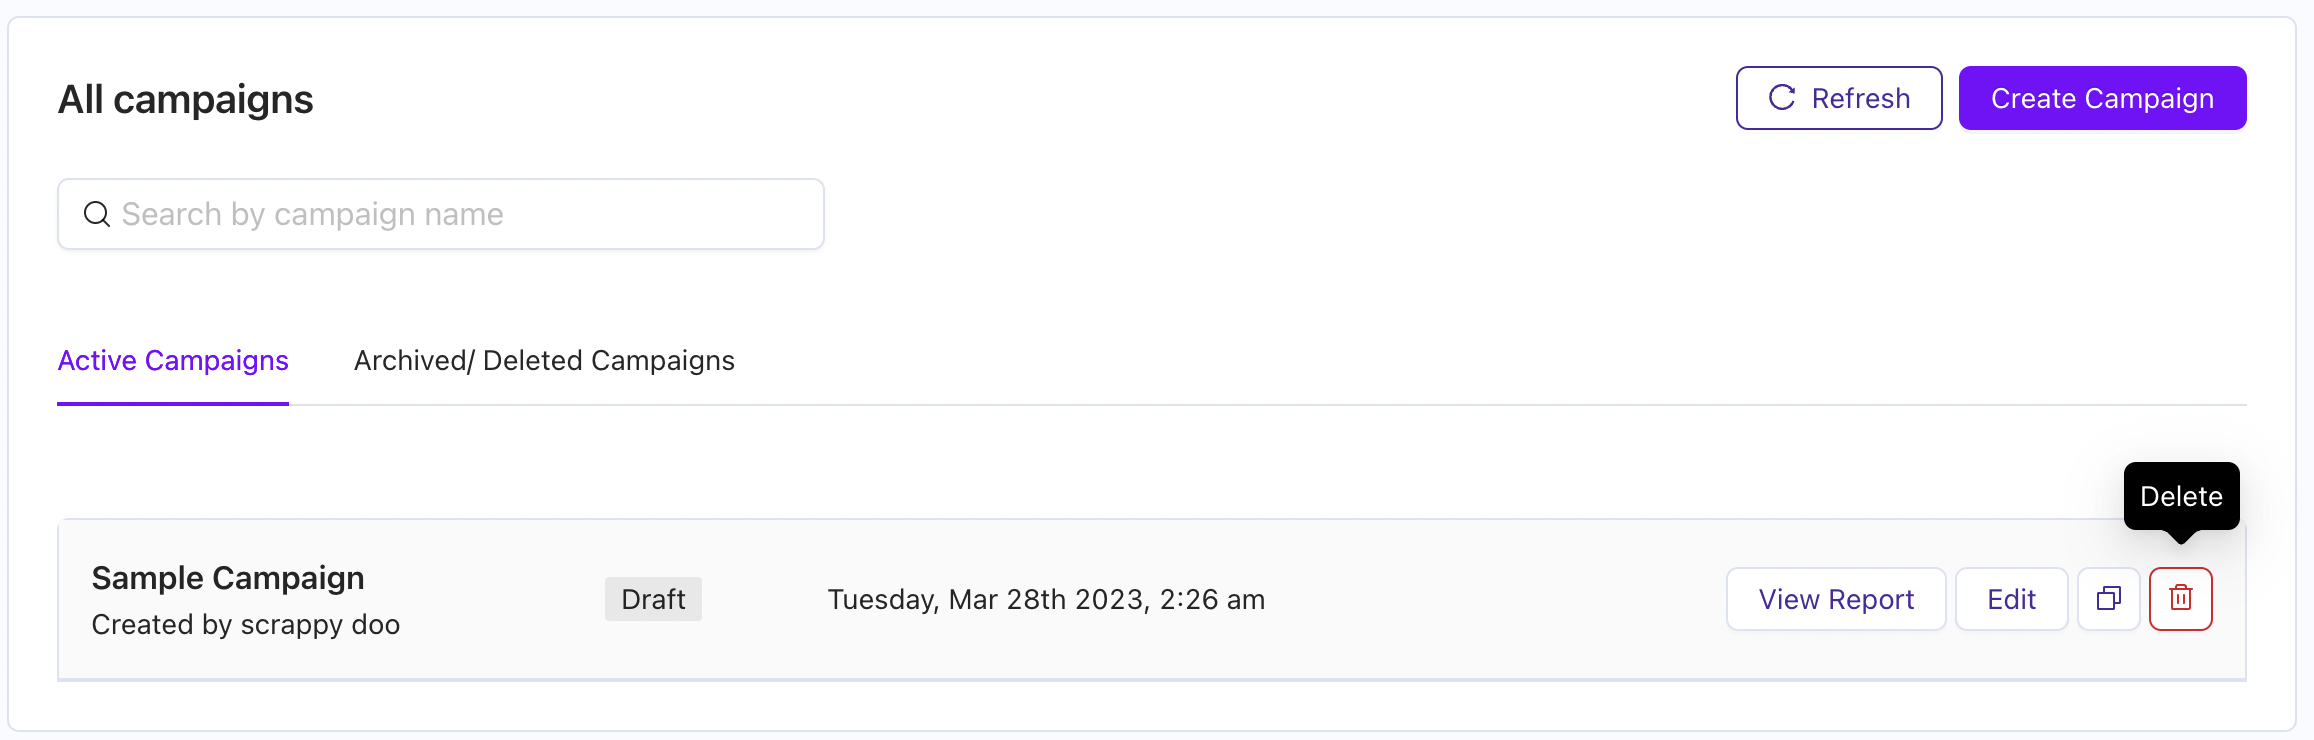
Campaign Archiving
Thena adds a loudspeaker icon under your campaign in order to track analytics.
Updated 2 months ago